
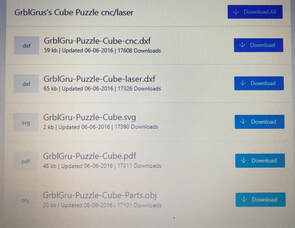
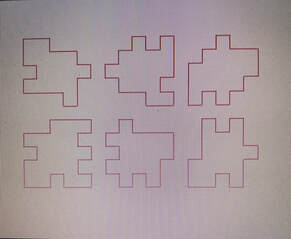
To start my laser project I needed to find a good file. So, I went to Thingiverse to find a something interesting. I ended up finding a cool box. Its pretty simply but I thought it would be kind of like a fun little puzzle. I downloaded a pdf of the file and made the black lines red so that the laser would cut them. From there I just had to submit my Adobe Illustrator file to the laser.

|
|
|
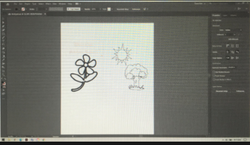
1. Create a new file on Illustrator
2. Make boxes with a red line to cut out the covers.
3. Use red or black lines to make cuts or engravings that would look nice.
4. Use laser to make it.
2. Make boxes with a red line to cut out the covers.
3. Use red or black lines to make cuts or engravings that would look nice.
4. Use laser to make it.
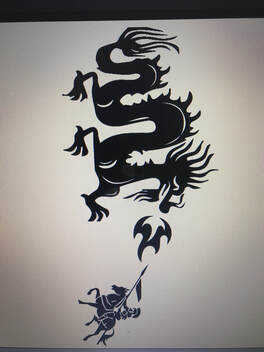
For my water bottle project I kind of wanted to do a simplistic image, kind of like some old medieval pictures. That's why I only used two main images for my design with little background. I didn't want to make my water bottle feel too clustered so I kept the details to a minimal. I chose the dragon and knight because I thought they would look cool.
I remember seeing things like 3-D images made with 2-D shapes but I never realized that those things could be made with a laser. In addition, I learned that red lines mean the laser will cut there, but black lines mean the laser engraves. It's cool to learn about the cool things I can do with a laser, like making my little box, or engraving a water bottle.
