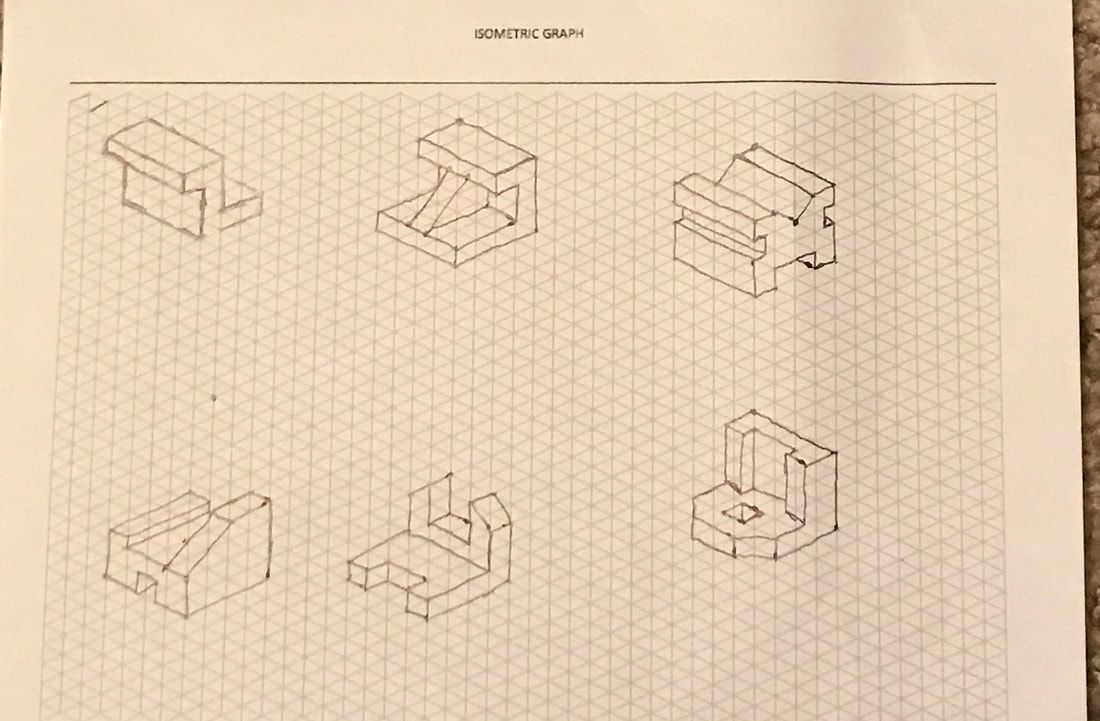
Inventor is a great 3-D modeling website for 3-D printing. However, because of online learning Inventor was not used and instead we used another site called Tinkercad. Tinkercad is very similar to Inventor, as they are both good 3-D modeling sites. Tinkercad has many fancy tools but the main ones I used were just the shapes that you can place on the printing grid. Those shapes can be changed from solid to a hole allowing you to combine simple shapes in more complex ones. Below are some of my sketches of the designs made on Tinkercad.
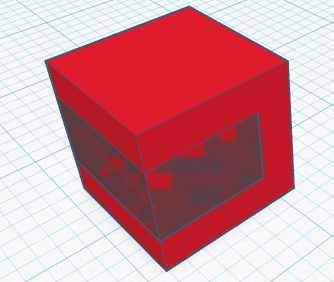
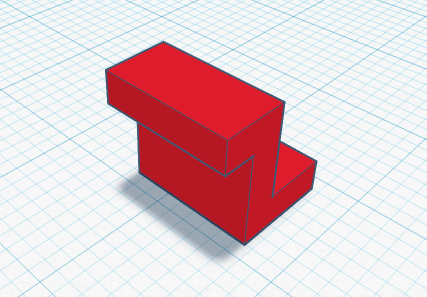
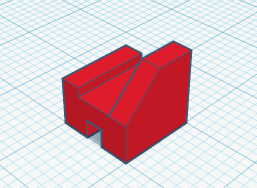
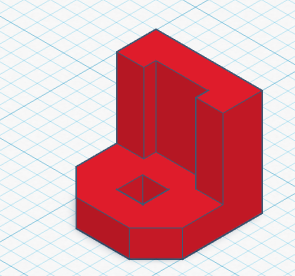
Now I will be going over how I created Widget Two in Tinkercad. I first started with a one by one box.

From there I made a second box as a whole with the dimensions of 0.75 x 1 x 0.5. I aligned it to the front middle of the box so that there would still be a kind of C shape 0.25 in thick.
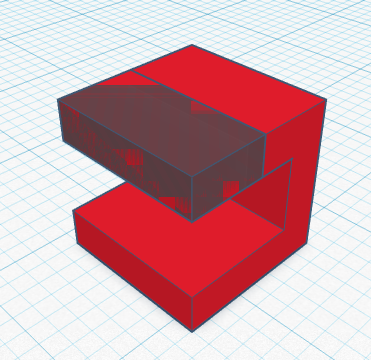
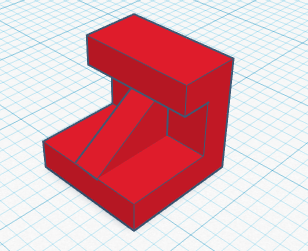
Then I made another box as a whole to take off part of the top. It was 0.5 in long, 1 in wide, and 0.25 in tall. I then aligned the hole box to the top and front of the C shape box.
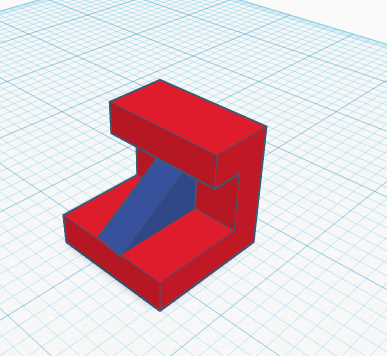
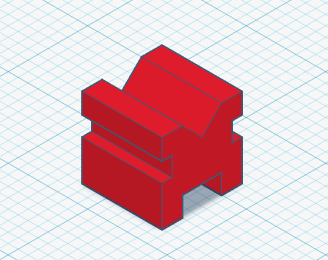
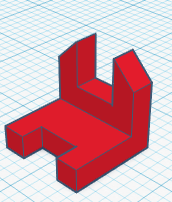
The widget is still missing the triangular part in the center. So I made a right triangle with a height of 0.5 in, width of 0.25, and a length of 0.75 in.
Below are the finished six widgets.
|
|
|
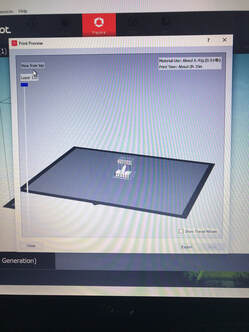
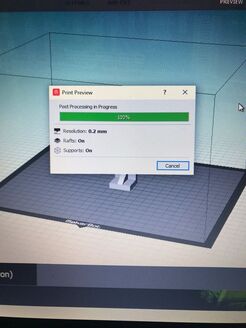
Right now the project is just a 3-D model. To make it a real thing I used Makerbot to download the file and used that to upload it to a 3-D printer.
|
|
I learned mostly about Tinkercad rather than Inventor but it was still very useful information. I got to experience how to 3-D model different objects as well as how to draw those objects to plan them out. It was fun learning about all the different things you could use a 3-D printer, such as making small toys, or even something like plastic utensils or a hanger. I hope to use stuff like Inventor more in the future!
